 Personal Education
Buttons on Board

During my years as a teacher, I wore a pin-back button pretty much every day at school. The kids seemed to enjoy dropping by my room just to see what the button said. I kept my eye open for new ones, and over time developed quite a collection. I kept the pins stuck to a bulletin board in the bedroom at home. Each morning I checked the board to select one for the day. The bulletin board is still there and so are the pins, though there is some dust as well.
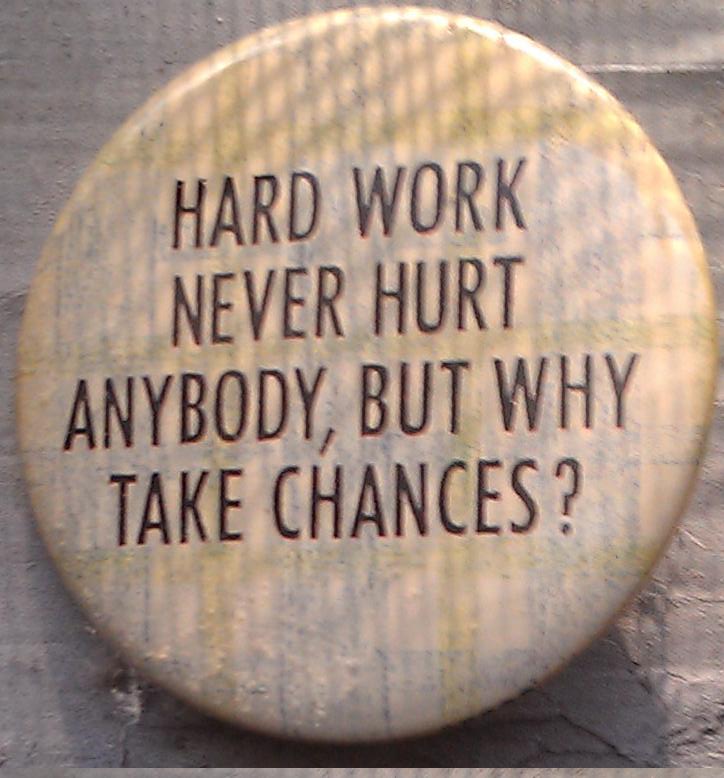
If these shenanigans are of no interest to you, take this advice:
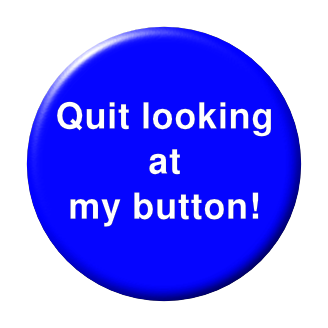
Otherwise...read on
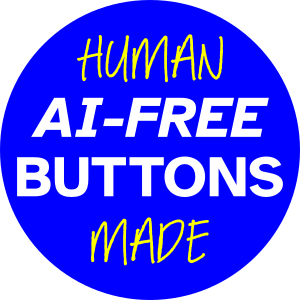
A few years ago one of my grandchildren got interested in having the pins. Most are rusty, crusty and dusty, so I thought it would be better if I recreated them using Inkscape.
I got a start.
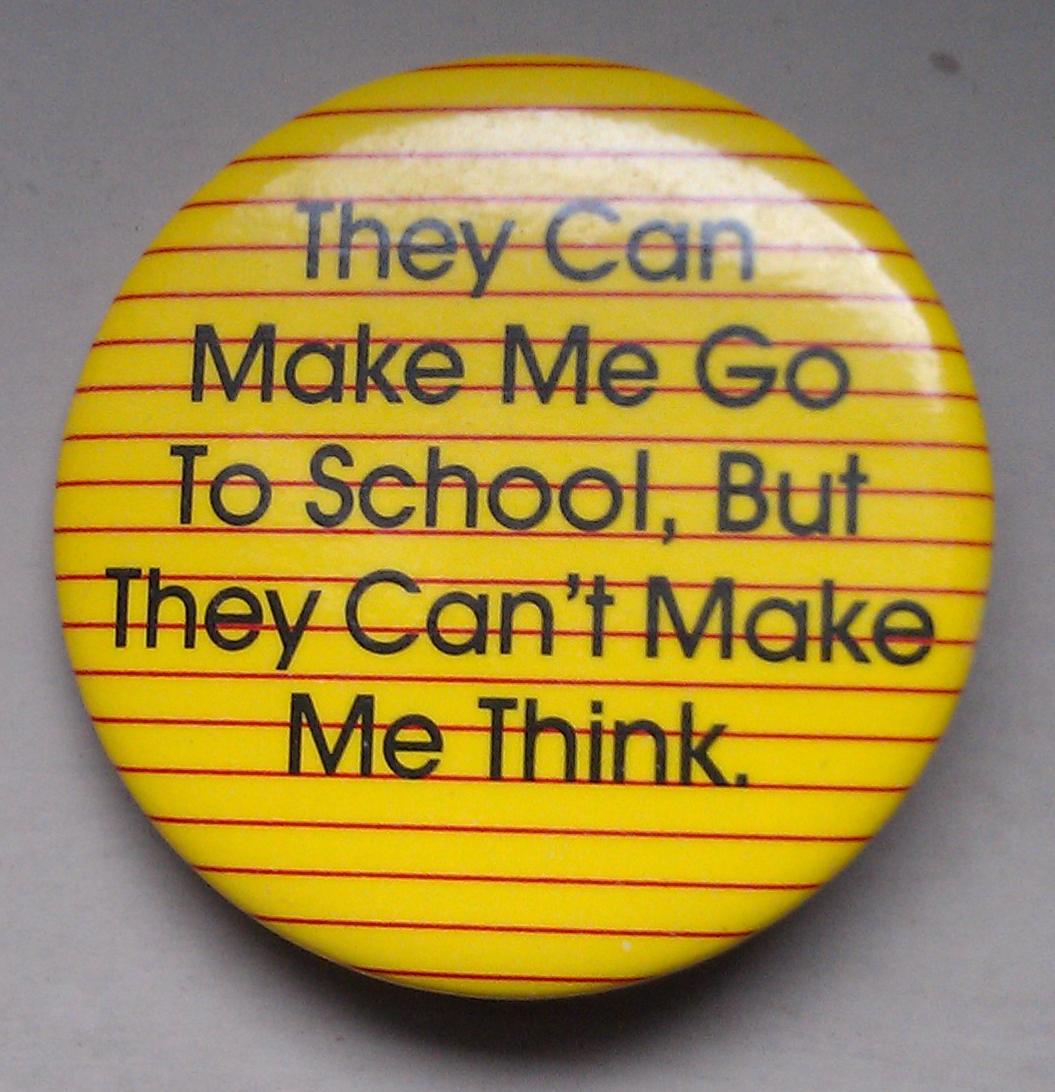

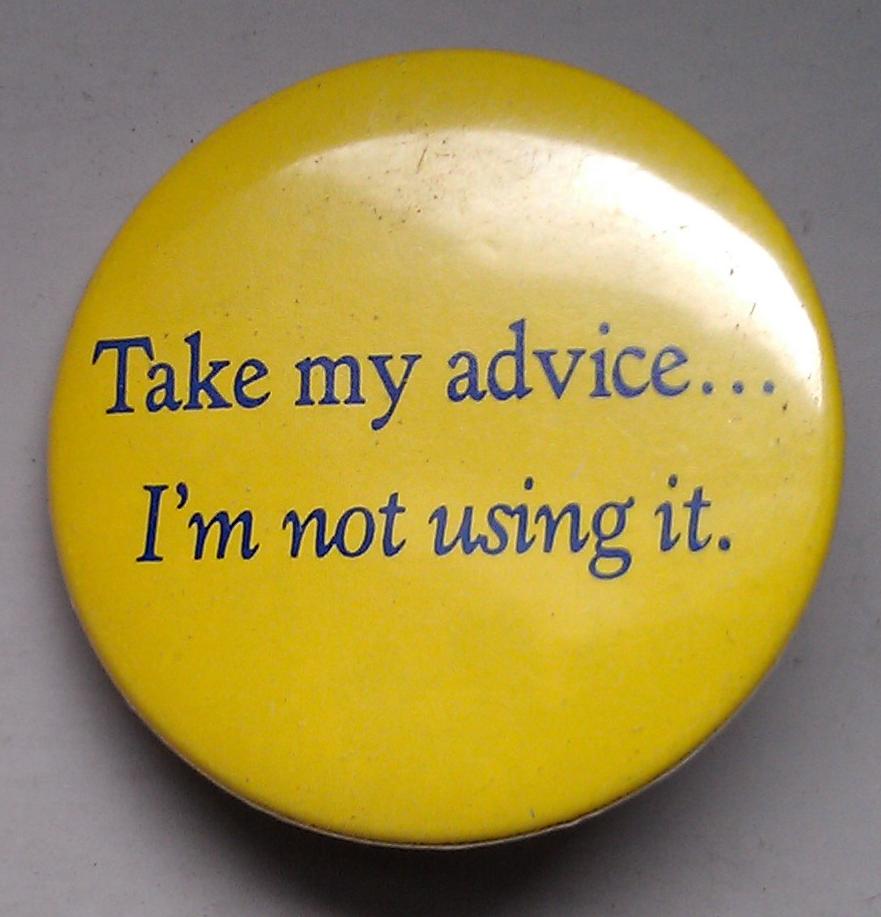

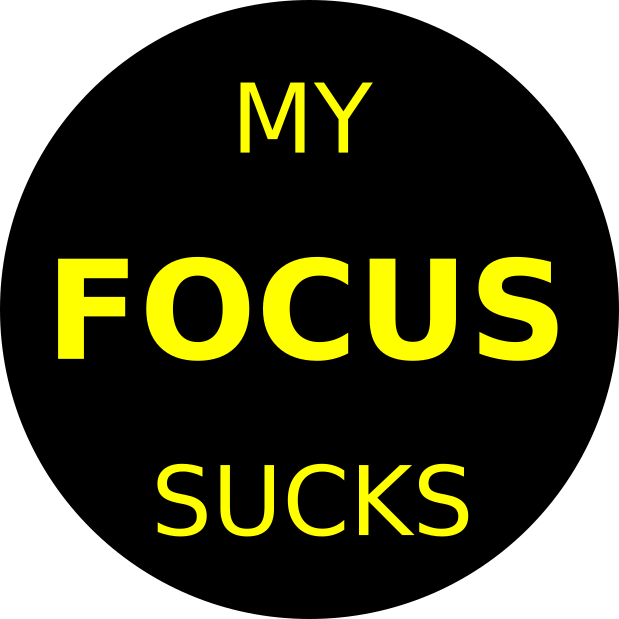
I even designed the first of my own.
The project languished for several years until I finally bought a button making machine.
This particular machine is from Vevor. It is capable of making two pin sizes, 58mm (2¼ inch) and 32mm (1¼ inch).
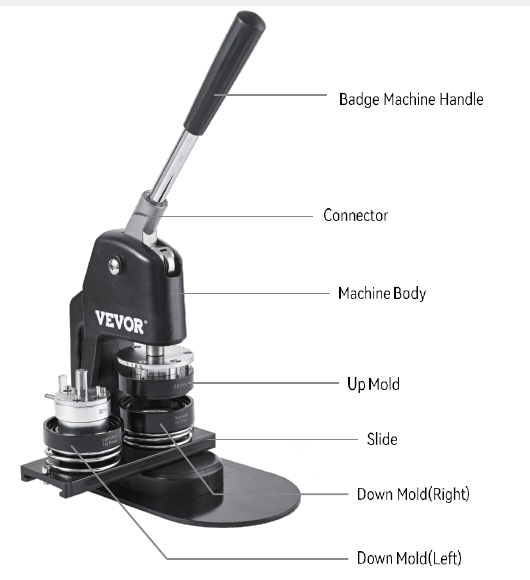
The Vevor machine came with adjustable plastic circle cutters. They are not what I would call "easy to use".
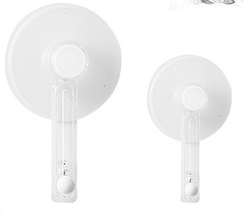
Fortunately cutting the circles from the page with scissors isn't too bad. Having an uneven edge is okay because the outer rim of the circle is folded around the metal backing plate. Still, I was planning to do a bunch of pins, so to speed things up and avoid arthritic pain, I also invested in a "die cutter" which quickly cuts correctly-sized circles from paper prints (not from Vevor).
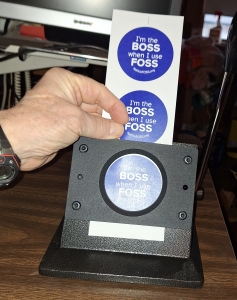
There is an annual science-focused event at Framingham State University which NatickFOSS User Group attends called "Science on State Street", and it seemed reasonable make some pins to pass out there to people visiting our booth. I opened Inkscape and designed the pin and a template.
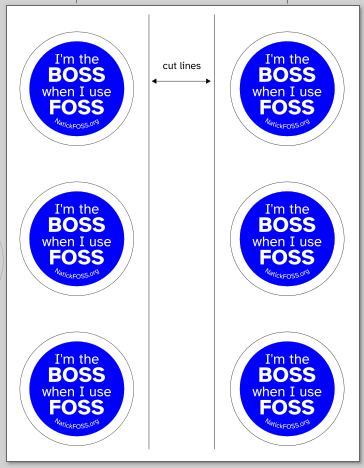
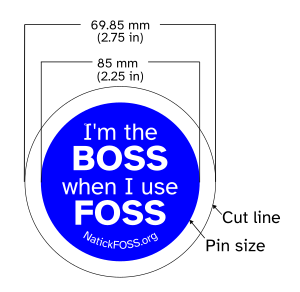
The paper I have is US Letter size in a color laser printer. That size page can comfortably fit six pin designs. The design on paper needs to be larger than the final pin/button size so that the paper wraps around the edges of the pin backing. Since the paper is cut larger than the pin, you can safely cut around the larger circle with scissors and be just fine. The die cutting machine does make longer production runs much easier.
Since the die cutter works easiest with strips of pin designs, I made the template with two columns of three pins.
Pin Parts
Vevor ships supplies for 250 of the 58 mm pins and 250 32 mm pins. The upper "top" molds for both sizes are included. The top molds are held in place magnetically so it is quick and easy to pull one mold out of the machine to switch between button sizes. The bottom mold fits both pin sizes without needing to be changed. Additional button parts are also available to order separately.
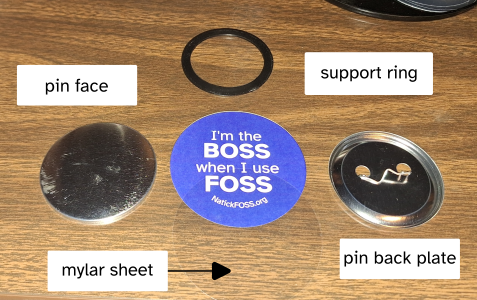
Each pin is made from a stack of four parts:
- a backing plate with a "safety" pin
- a metal "face" plate to support the paper design
- the paper design
- a mylar sheet to protect the paper image
- (the support ring is only needed for the 58mm metal pin backing plate.)
Putting the Pins Together
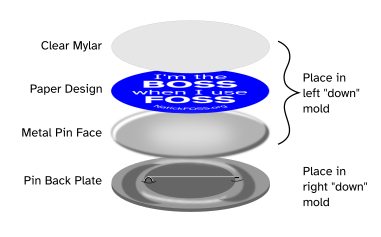
- Put the pin back plate in the right "down" mold, making sure the sharp pin point is facing down to the right.
- The pin point should be in the closed position.
- The pin should be oriented to be "straight" across between the markers on the mold.
- Put the metal pin face in the left "down" mold and then stack the paper design and then the mylar.
- The image of the pin design should be aligned so it matches the mold markers (which are slightly offset.)
- Move the bottom left mold to center it under the press upper mold and pull the handle firmly down. The three parts will be captured in the "up" mold.
- Move the slider so the bottom right mold is centered under the upper mold and press firmly down to capture the pin back in the stack of mylar, paper and metal face.
The smaller pins are more efficient for paper usage.
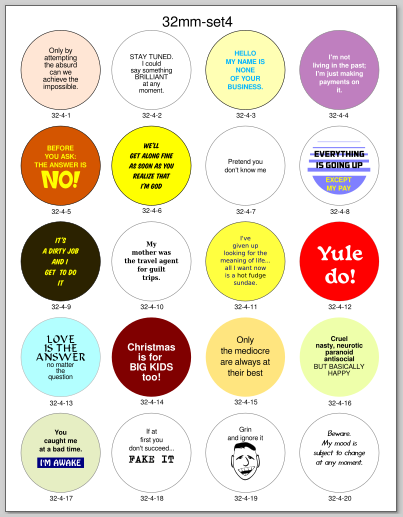
It has been fun designing, printing and putting pins together for the grandchildren.
Once in a while, I've shared designs to the Fediverse by way of my Mastodon account.
Maybe something more will come of it.
Printable PDF (US Letter) Pages
If you have suitable pin-making equipment (several vendors make them), maybe you would like to make some of these for yourself.
Printable Sets of designs are available.
"Filthy Human Hands" license support files.