Intro to Inkscape 1.1
Part 2: Paths
Paths instead of Objects
Video:
You may also wish to view the August 2021 NatickFOSS Youtube recorded meeting video (39:28 minutes into the video for the Inkscape segment). Also, if you need to review the basics: Inkscape Objects
In the last meeting's presentation, we explored the basics of the object type: rectangles, circles, polygon/stars, etc. I think it might be wise to begin with the rectangle again as we start to explore paths. The rectangle serves as an example of how the object shapes all work.
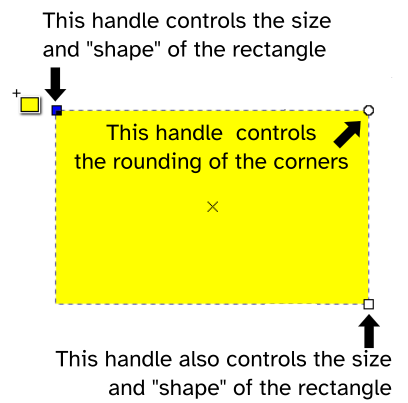
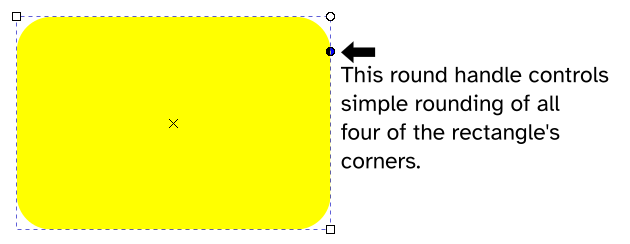
Once you make a basic rectangle, you can adjust it by using the "handles" which appear at the corners. There are two box handles. Each of them adjusts the dimensions of the shape. The round handle controls the roundness of all four corners of the rectangle. (There are actually two round handles. The first is most often used, and once it has been pulled downward on the right edge, the second round control is revealed and usable. The second round handle actually just modifies the top and bottom curvature. I find I use it less often than just the primary round handle.
We are trying to keep a relatively narrow focus here, so will leave discussion of the handles of stars, ellipses, etc. until a later presentation.
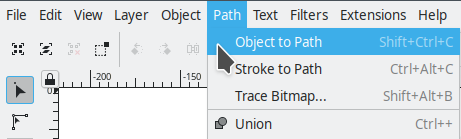
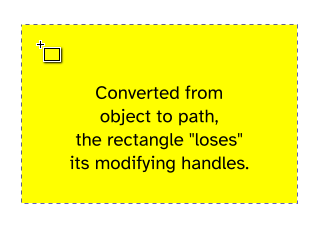
The next major step is to look at paths. We will do it by beginning in the context of our basic rectangle. There is a Paths menu item. When you click on that, a series of options will appear. The very first one is our focus here: Object to Path (Shift+Ctrl+C). When you select that option, the handles of the object change in an important way. The rectangle "loses" its object control handles.
I won't dwell on the keyboard shortcuts here, but you may find you will use some of them much more than the GUI menu.
While the object handles have been "lost", they have actually been replaced by path handles. To see the new path handles, you need to go to the toolbar running down on the left side of the screen. Over time you will need to know how each one works, but we'll only check out a minimum of them today. The one we need now is the Edit paths by node". When you click that toolbar button, the former rectangle object will reveal its new path node handles, in this case, one at each corner.
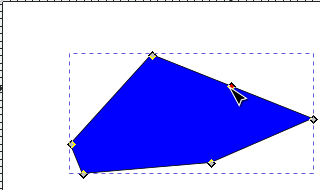
- There are now four (smaller) handles, one at each corner.
- Each one is independent. No longer working together.
- Try clicking and dragging any one of them. (I choose the node at the top right.)

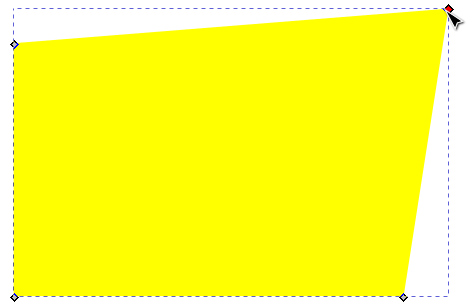
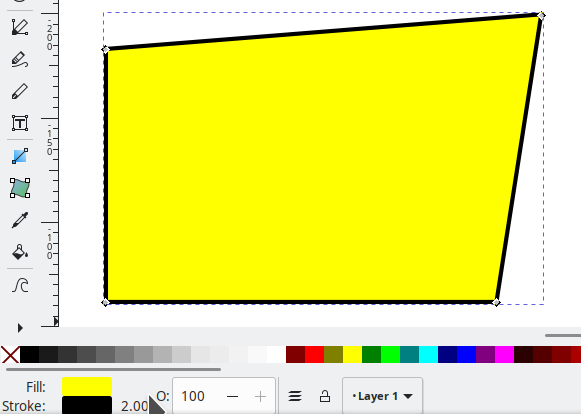
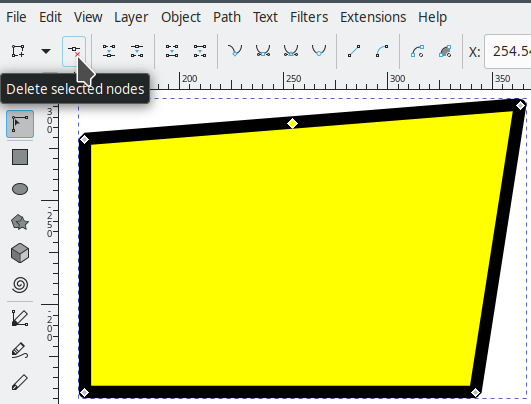
The color of the shape is under your control. I've chosen yellow from the color bar along the screen. Shades from black through several grays to white along with the core colors begin at the left. A huge number of color pallets are available as you scroll to the right. You can also add an outline for the current shape by holding down the shift key as you click the color. Right click the Stroke value. You'll get a context menu of stroke thicknesses. The default unit of measure is millimeters (mm), but you can control that to your liking. I often work in pixels, myself.

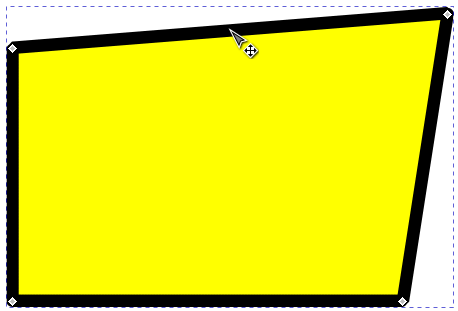
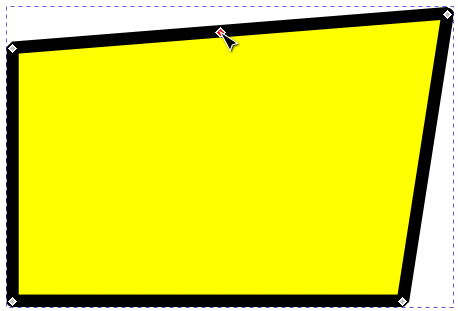
The existing nodes can be pulled, but the node tool has much more power over the shapes, too. A double click, anywhere along an edge, will add a new control node. Nodes can also be removed. While the node is selected, there is a toolbar full of node options. Knowing all about them will take practice. Remember that this presentation is an attempt to focus on just a few steps at once.
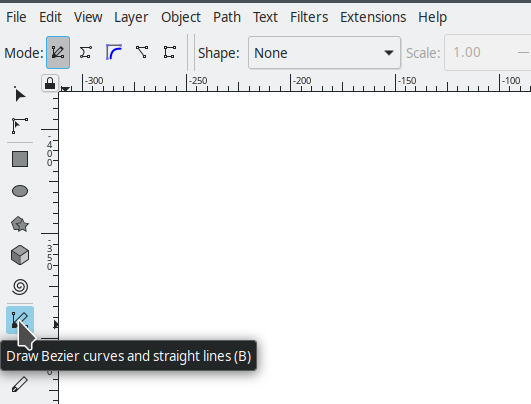
Next we'll transition into another path tool, one which lets us create a new path from scratch instead of converting from an existing shape. Find the Draw bezier curves and straight lines tool. (It is pronounced "bezz-e-ay" because it is from French.) Then click on the screen. It will put a start node in place. Move a way and click again.
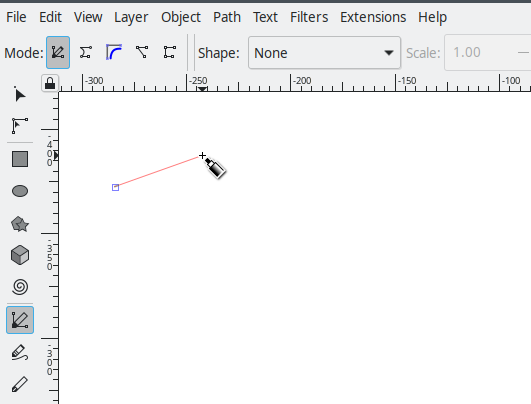
Do it again, gradually working around a space, and ultimately return to the original node. The default "Snap to node" will help you position the mouse pointer where the original start node was.

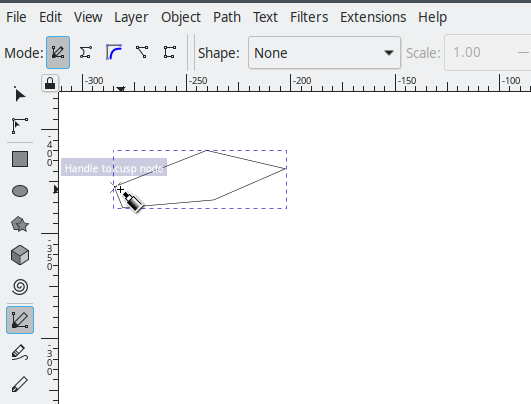
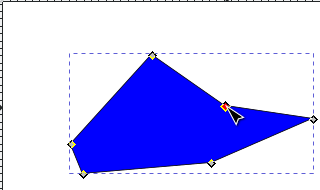
Next, we are going to do some modifications to the path, particularly to explore the "curve" idea.
- Ensure you have the Node tool selected.
- Add color. I have picked blue.
- Add a new node and drag it down just a bit.
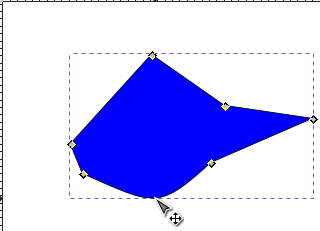
- Position the pointer about at about the middle of the bottom of the shape.
- Click and hold the left mouse button to let you drag the bottom line into a curve.
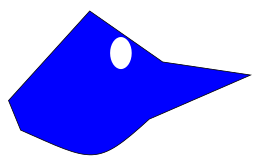
Wrapping it up, let's look at the layering of Inkscape. At the basic level, every new shape is created at its own level and the newest is "on top". I'm going to add a circle on top of the most recent shape to begin to build a clipart.
- I click my pointer onto the blank workspace (not clicking any other shape)
- I choose white for my color at the bottom left
- I choose the circle tool and add a tall oval above the center of the shape.
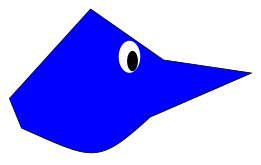
- I deselect the circle and choose black color and make another similar oval, but smaller.
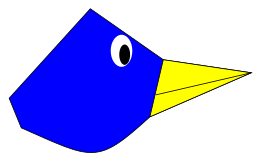
- I deselect, choose yellow and create a new shape covering just the section sticking out to the right
- I finally add a line to divide the "beak" I created.
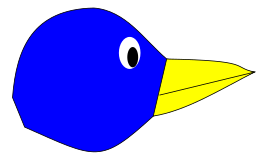
- Complete with some extra drags of bezier lines for final shapes. (Remember: there is always room for improvement!)