Intro to Inkscape 1.1
Part 1: Basics
Getting Started
Video:
You may also wish to watch the meeting presentation from July 2021, available from the NatickFOSS channel on Youtube (start around 29 minutes in).
Inkscape is a FLOSS program for making Scalable Vector Graphics. Vector graphics are in contrast to bitmap graphic images. You may be aware that photos are typically presented as bitmap in a format called jpeg ("jay-peg"). Other common bitmap formats are bmp and png. The "problem" with bitmap images shows up when you attempt to resize them larger. The image is composed of dots or "pixels" (picture elements). When you enlarge the bitmap, each dot simply gets larger. The more you enlarge, the bigger the dots get, eventually leading to very obvious pixelated images. The following illustration attempts to show the problem. The original photo of me was manipulated from the original color jpeg into grayscale png to use as an avatar image on the web. I've captured a third version after zooming in on just the eyes and nose. With your reading glasses on, you may be able to see that the image has begun to show big rectangular dots. Even without your readers, the final image of just one eye is probably easy to see the blocky, enlarged pixels.
![]()
Now, to be honest and clear, Inkscape is not intended as a photo manipulation tool. The main use is for poster designs and clipart. Still, pixelization is still a problem there, too. The triangle below has been exported for the web as a png. Then doubled in width and then doubled again. I hope you can see the pixels, particularly on the long, diagonal side of the triangle.

The next row of triangles is created using SVG code taken from Inkscape and directly rendered by the browser. If you look closely, you will see that the rendering includes a smooth slope for the largest triangle, no pixelization. We can come back to explore this issue later.
Next, I'd like to deal with some very basic Inkscape concepts.
Install:
Inkscape's current version is 1.1 which I mention because the standard Ubuntu 20-04 version is the much earlier version 0.92, so if I want to use the latest, I choose to download and run the Appimage available from inkscape.org instead of the package currently provided by Ubuntu. Snap and PPA packages are also available.
Basic Shapes
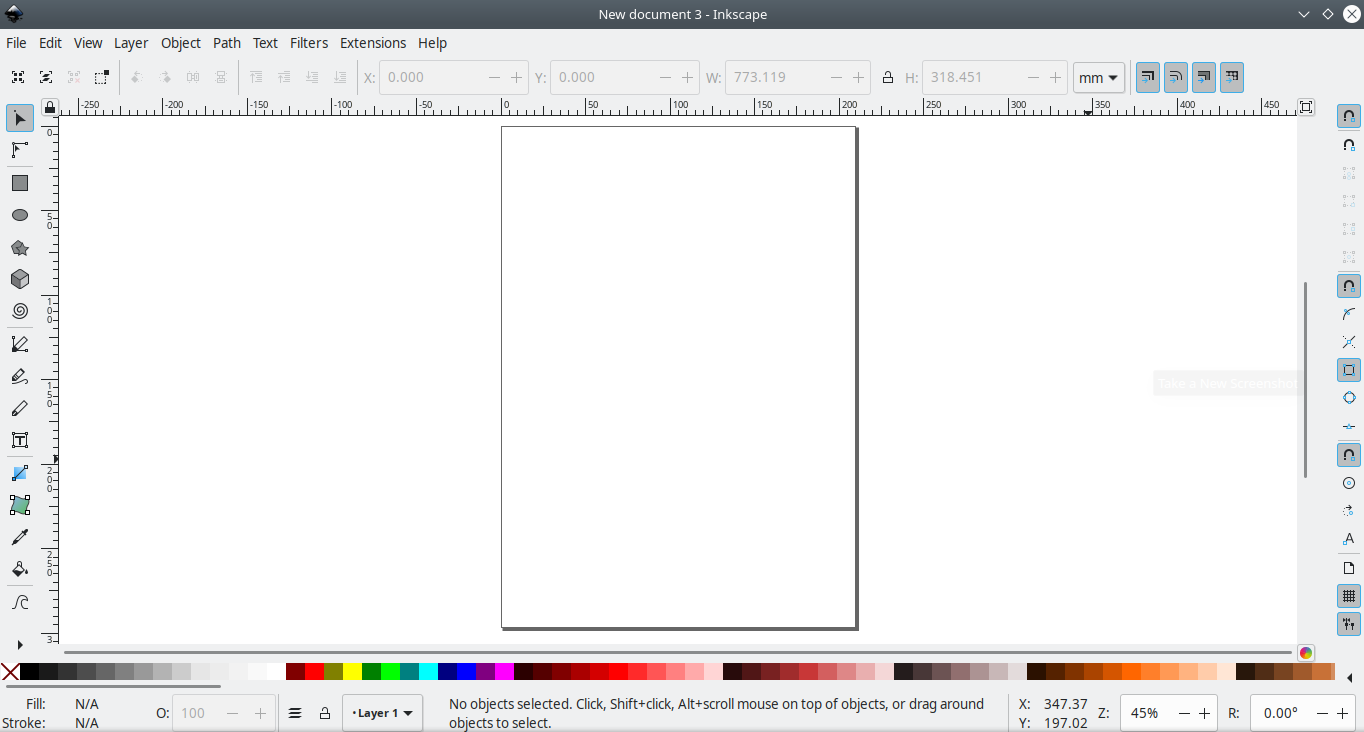
(This is the place I started with the meeting demo. The "new document" screen looks typically complex. We'll try to start slowly.)
Objects
The basic shapes are called "objects" because of the way you can manipulate them. Let's start with the rectangle object.
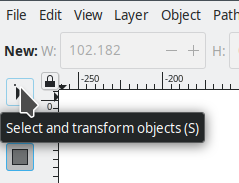
Along the left edge of the screen is a column of tool icons. Near the top is the rectangle tool.
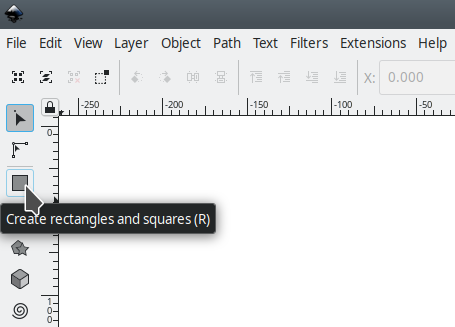
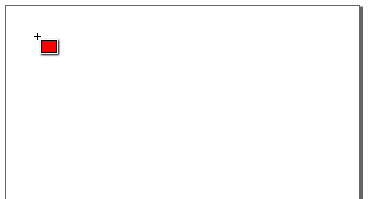
After choosing that tool, a click of the left mouse button will set the initial corner of a rectangle. Then, while still holding down the left mouse button, drag diagonally until you have some sort of rectangle. We're going to try to look in some detail at the way the object/shape works. Please note that the rectangle pointer shows the most recently selected color. If you want to see your rectangle, you'll need to go to the bottom of the screen to select some color other than white. I've decided on red.
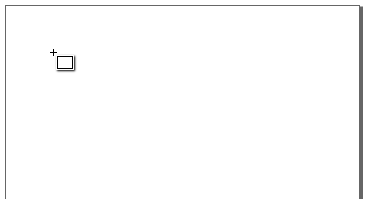
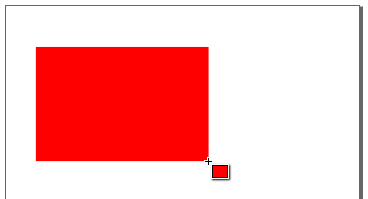
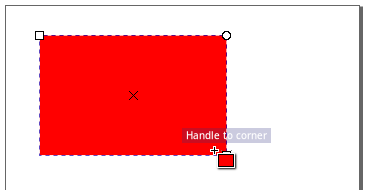
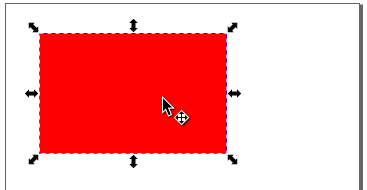
After you have made your rectangle, when you release the mouse button, small white "handles" will appear at the corners. With them, you can left-click one of the corners to adjust the size of the rectangle. You could also make another rectangle, but let's not. Instead, go to the top of the tool icon column and select the selector tool. With this tool, one you'll use a lot, you can adjust and move objects around. That's the next topic. After selecting the selector tool hover anywhere over the rectangle (now with corner arrows instead of the other style of handle). When you click the "middle of the rectangle, you can drag it around or click on any of the arrows along the edges or at the corners to resize the shape.
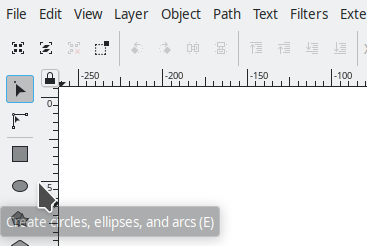
It probably makes sense to experiment with as many rectangles as you can for a little while, but in one of these instruction notes, we move on quickly to some other object shapes, the second of which is the circle/oval. It is easy to make an oval, but to get a circle, hold down the control key on your keyboard as you drag to make the circle. Practice until you get the finger tips coordinated.
The third object shape to see is the polygon/star.
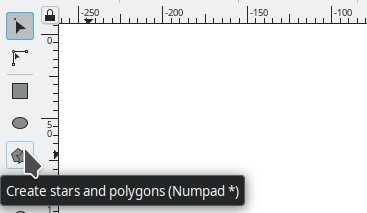
It may not be surprising. A polygon is much more complicated than either the rectangle or oval. Therefore, there are several significant controls to determine the final shape of the polygon. Experiment methodically with the star vs flat-sided polygons. Then adjust the number of "corners". The controls apply to the "next" shape, not to the current one unless you have it selected AND then have also chosen the polygon tool. It's tricky. Try again and again until it makes sense. "Practice makes perfect." That's the adage. I personally never expect to be perfect, but I'm willing to keep trying.

Though I did go a little further in the meeting, I think I will break here and make the introduction to paths a separate topic.
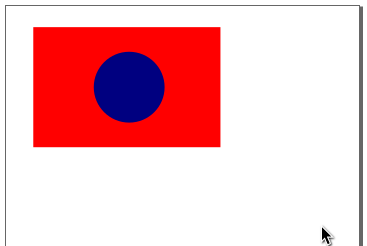
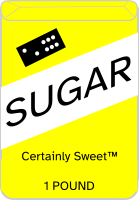
I did mention using Inkscape daily to make clipart illustrations for a published "Word of the Day". One place you can find the word and illustration is Natick Patch. I also keep an archive blog using Wordpress. For "carbohydrate" I make a package of sugar:
For those who really want to run through my "best" work, there is my clipart collection.