Embossing/Debossing (Engraving) Text with Inkscape

Note:
This demo was presented at the February 6, 2025 NatickFOSS meeting. In an effort to simplify these written steps of the demo, I've put the Inkscape tool instructions used in the flow of presentation in the references section at the bottom of this page.
Basic Method
Actual embossed lettering is raised above a book cover's surface. Web images or simple printed documents cannot make that raised effect, so we need to simulate the way light catches on the edges of the raised letters.
In this demo, I'll use a 50% neutral gray background "page" and the text "EMBOSS" in bold, capitalized letters.
The embossing effect implies a light source shining on the page. Ours will be above and left of the page.
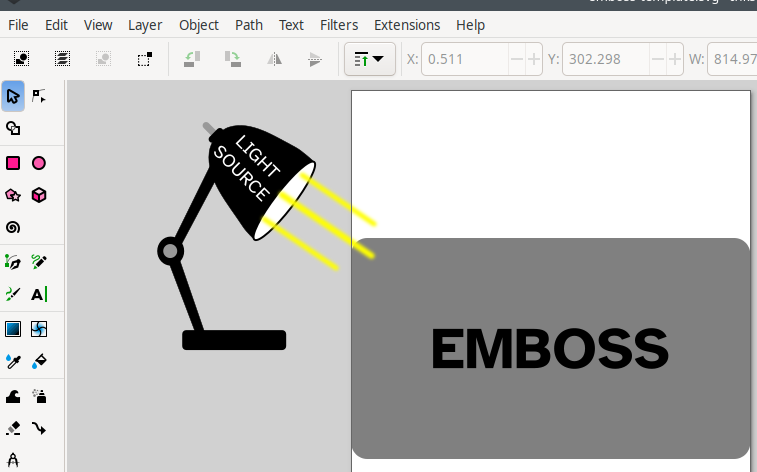
Text defaults to appear black. That's too dark for our medium-gray-background example. We need three shades of text: light (20% gray), dark (80% gray) and neutral (50%) to match the background.
- Change the text to 80% gray.
- Duplicate and change the second version to 20% gray and use the up-arrow key twice to move it up then left-arrow twice to shift it up and left a bit.
- Duplicate again and change to 50% and use the down-arrow and right arrow once, each.
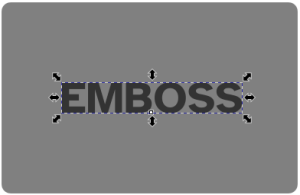

- While we want the "top" version of the text to match the background, don't do that one first, last is easiest.
- The duplicates stack right on top of each other, so the shift of position for each version is important.
- increasing the shift of the versions will increase the apparent depth of embossing, though more letter depth would probably look better with more space (kerning) between the letters.

- Grouping the three text objects together makes them easier to move around, say for centering, for example.
- Adding some blur may help the look of the embossed text.
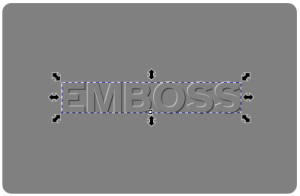
Debossed Text
Debossing depresses text into the surface similar to cutting into or engraving engraving the surface. The basic technique is almost the same, just shift (reverse) the "shadow" and the "highlight" versions below the neutral color.

Advanced: Using Clones
If you want a quick way to do several embossing jobs with different text, use clones instead of duplicates. That will allow you to quickly execute a series of similar embossing/debossing jobs without needing to recreate the whole job.
Important: Clone <alt+D> only the original. Drag the clones away from the original, change their colors and stack them for either embossing or debossing styles.
This technique is not limited to text or shades of gray, of course. Bronze Plaques?


References:
Inscape.org forum article from which I began. Thanks to "brynn" and "Xav" and all those who share techniques and tricks like these.
Inkscape Tool Details
Selecting Objects
Use the Selector tool  to click an object
 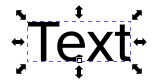 and make it adjustable for location, size, rotation, color changes, etc.
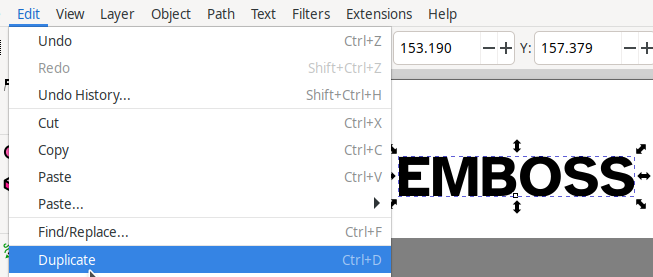
Duplicating Objects
Use the Selector tool to click on an object and <Ctrl+D> or the Edit menu option to duplicate it.
Making text
The text tool 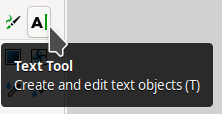 gives you options to create text using any font installed on your system.

I use "Atkinson Hyperglide", and there are lots of options to explore.
Once created, text, selected as an object, will default to appear black on screen, but may also be "Unset" for fill and stroke.
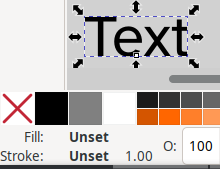
Choosing Colors
Basic color choices are displayed at the bottom of the Inkscape window.

and you click your choice with an object already selected.
Grouping Objects
Using the selector tool, start up/right beyond any object, click and drag down and left to make a selection that includes all three versions of the text.
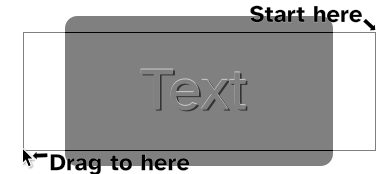
Overlapping dashed "bounding boxes" will appear to show what's selected.
Finish by using <Ctrl+G> or the Object menu option. Center or otherwise place that group. Without grouping them, attempting to center the three versions of text would just make them lie directly on top of each other un-doing the embossed appearance.
Cloning
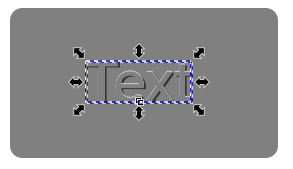
The text object will be easiest to use for cloning if it is placed off the workspace of gray background.
<Alt+D> or right click the text object for the clone option.
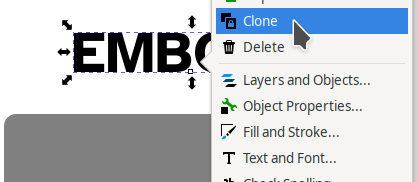
Drag the clone (which will be on top of the original) into the work area. Make sure to clone the original each time. Cloning a cloned copy doesn't work for editing later.