Home > Programming > 3D Central > TP-Extender
Mega Roll Extender
We buy a brand of toilet paper which used to be available in standard and "mega" roll sizes. Since the Covid-19 disruption throughout 2020, the local supermarket has carried only the mega roll packages. Our main bathroom has a tile fixture set into the wall. Mega rolls do not quite fit. The manufacturer offers a free extender if you request it on line. It did not fit and needed some added nubs (which I did make using the 3D printer) to fit. That, in turn, made the whole extender a little too long to work smoothly.
It seemed wise to try to make a version of my own, especially if the free one snaps.
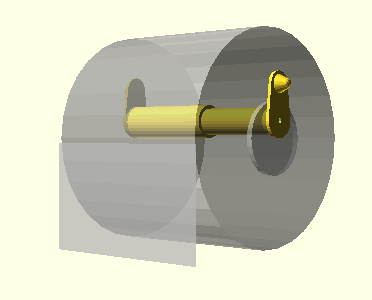
The code is set up as modules, one for the outer sleeve of the extender, another for the inner cylinder. To each of those, a groove or mating pin is put in place to keep the components aligned. You will need to insert a suitable compression spring around 90mm or about 3½ inches long, similar to, but larger than what you would find in a typical ballpoint pen. I was able to locate the spring I used at the USA retailer, Lowes (Hillman brand 23/32 diameter by 3½ inches with a wire diameter of 0.041 inches). Buying locally allowed me to avoid the typical online minimum order issue. I used a machinist's tap on each appropriate tube end to ease the threading process.
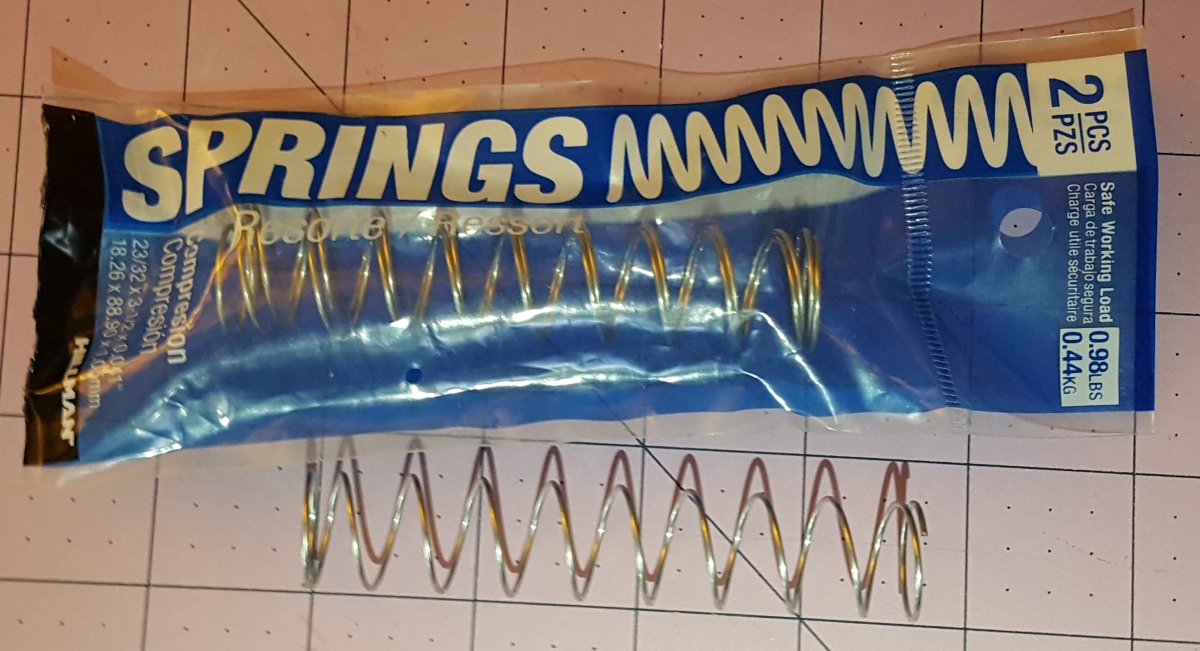

It may be you will only find shorter or longer springs, but you can cut with wire cutters or stretch the spring with a couple of needle-nose pliers to make it work. If you need to experiment, make a core tube with a full-length groove before committing to a final version. After dropping in the spring, you'll need to tap the core hard into the sleeve cylinder to seat the pin in the groove. Once in place, the pin holds against having the two cylinders fall apart from the spring action when you change the roll.
The ends of the core and sleeve also have a mating groove and pin to keep the flanges aligned. The flange grooves are visible if you rotate the image around the Z axis.
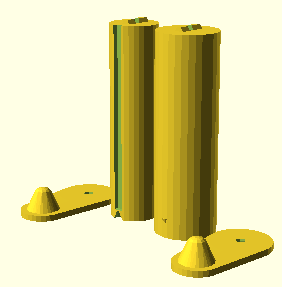
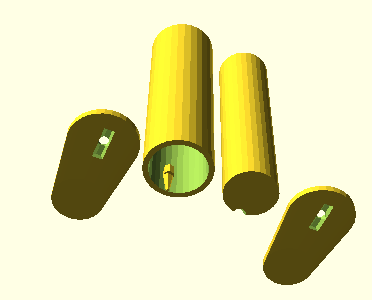
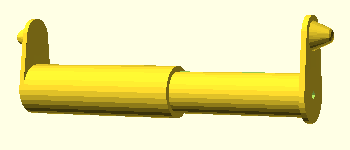
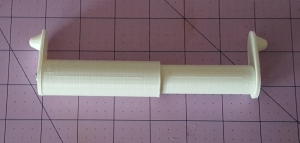

There is a variable called "print" which, when set to a value of 1, will place the four components for printing. Any other value will display the parts as if they had been assembled. Use superglue (if using PLA like me) to attach the two flanges pointing outwards as shown in the illustration. The alignment groove and bar may need adjustment for best fit, and a short #8-32 bolt may add security for the flange attachment. The company-provided extender was made by injection molding methods so the flanges are already attached to the tube elements.
Available Files:
SCAD files for study/modification and STL files for quick prints
tp-extender04.scad - tp-extender04.stlGPL3 License