Personalized Playing Card Box
This project began as an attempt to do a generic box, but to do it using variables throughout so that the dimensions could be simply modified to make a box of any size up to the limits of one's printer volume. I believe that is sometimes called "parametric" design in 3D/CAD terminology. I was coming at it from a programming perspective using OpenSCAD. The point of variables/parameters is to make a design flexible. Hard coding a set of numbers for a project often comes first as a proof of concept. A subsequent (second, third, etc.) version with variables in place of the fixed values shifts a project beyond its simple origins. With variables in place, a simple box can become any box you want.
Point of Order:
The order of these design notes is not sequential. At some point, I will attempt a set of links which shows something of a sequence that I followed in my explorations of 3D. Not yet. These notes are not currently designed to be the basis of a course to study. I have found that a good "scope and sequence" comes only after you know a subject well. I am not there yet. Bear with me.
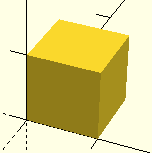
The box is actually built from a bunch of cubes. A "cube", as used in OpenSCAD, is really any rectangular solid, not just an equal-sided one.
// basic equal sided cube
cube([10,10,10]);
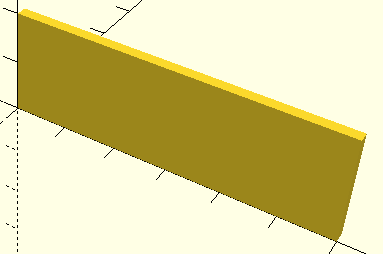
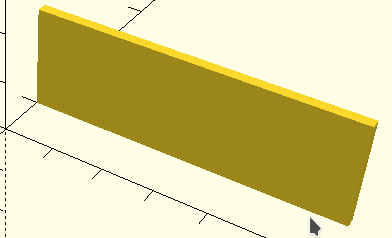
// long narrow and tall cube
cube)[60,2,20]);
The default origin of both cubes is the intersection of the X, Y, and Z axis lines. To apply a set of variables to relocate the box parts requires the translate([x,y,z]) command. If you use translate([0,0,0]) it has the same effect as no translation at all, however, putting a value into any of the parameters will shift the resulting shape as shown in the next illustrations.
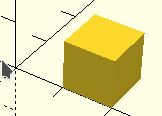
// basic equal sided cube
translate([10,0,0])
cube([10,10,10]);
// long narrow and tall cube
translate([0,10,0])
cube)[60,2,20]);
The next step is to stop using a fixed numeric value in the commands and to begin using a variable to allow each box component to adjust its size to any shape you want. In practice, that might mean creating a hard-coded box with fixed numbers as the proof of concept and then going back through, changing the positioning, along with the lengths, widths and heights of each box part.
Once you have done this kind of thing often enough, you may be able to begin your new designs with a full set of planned variables. Let that happen by pushing your skills along while you do lots of projects. Take the time you need, though, to get to that point. Use fixed values until variables feel right. Do push yourself along.
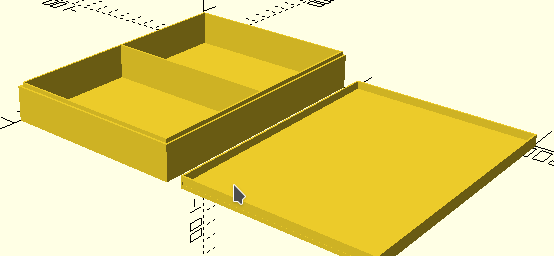
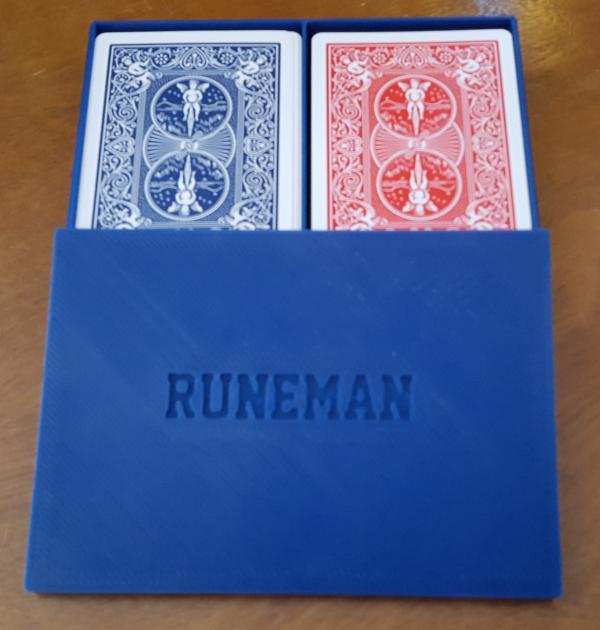
The box size I wound up making as a practical project was designed to hold two decks of standard size cards. A jewelry box had been in my thoughts early, but no box I could fit onto the bed of my Lulzbot Mini was going to be really useful for holding jewels or other keepsakes. As it turned out, it was necessary to print the partitioned box base separately from the cover. As noted in the files listed below, just comment out the part you don't want to print.
The final technique applied in this project is adding a name to the box cover in order to personalize it for each person/family. OpenSCAD has a text command. In each text command, you can tell OpenSCAD to use any font installed on your computer, and you can set the text size to suit your needs. I chose a font called "AcademicM54" which is available from many free font sites such as 1001 Free Fonts. If you do not wish to add that font to your own system, choose another to use in the cardbox.scad file. It appears that OpenSCAD will automatically substitute the built-in Liberation Sans font if you specify a font which is not installed on your computer.
The box cover is printed upside down to make the top flat. The top would sag badly if you tried to print right side up, so it is necessary to rotate the text and to make it a cut-out by using the difference() command. Also note in the OpenSCAD file that the text position has been calculated to center on the top and has been rotated in order to properly read from left to right, in spite of being flipped upside down. Fiddle as needed.
Text also needs to use the linear_extrude() command so it becomes 3D. The depth of the letters depends on your top's thickness. I used a text extrusion thickness of half that of the top. The text also must be both simple enough in outline and large enough (bold helps) so that the nozzle diameter can handle the details. Small, thin text may fail to print or show only part of some letters.
Available Files:
cardbox.scad (with "RUNEMAN" as the text and using the "AcademicM54" font)
cardbox.stl (with "CARDS" as the text to be generic for as-is printing)
GPL License