Introduction to Computers with Ubuntu Unity
Styles in Wordprocessing
Using styles in word processing makes it possible to create a "look" for your company's documents. You can make a template which you pass to everyone in the company. Each template gives managers and their administrative assistants the tools they need to meet company document guidelines. Styles, in general are not a beginner concept. You can choose the fonts you like and then the documents will look the way you want them to. Styles are in this guide for two reasons. (1) You might be in a business where you must adhere to corporate style and would want to understand it. (2) You might be writing long documents where a table of contents is important. Styles are at the center of making an automated table of contents. Making a table of contents will be the activity of this section of the guide.
One aspect of styles falls at the upper edge of "beginner", right where "intermediate" begins, from my experience. That aspect is headings. Headings help you to write longer documents so they tie together.
 Note:
Note:
As always, remember that this guide is ONE path to becoming comfortable with your computer. Just because I say styles are at the beginner-to-intermediate margin doesn't mean you must learn about styles at that point. You may have used styles very early, and you can certainly be very productive without ever using them.
The heading of every section of this guide on the web is much bigger than the text of the regular paragraphs. The line done in larger text is a "heading." Both web pages and LibreOffice have styles available. If you are working from the web site, the fonts and layouts do not necessarily match the ones in the printed version.

The initial style is "default." It is pretty basic.
This paragraph and the others with regular text size are considered body text. In LibreOffice, the default body text on my system is a typeface (font) called Liberation Serif at a size of 12 points. (For the record, the web page uses a sans-serif typeface as the default body text and heading font. (Web design isn't quite so straight-forward as LibreOffice Writer.)
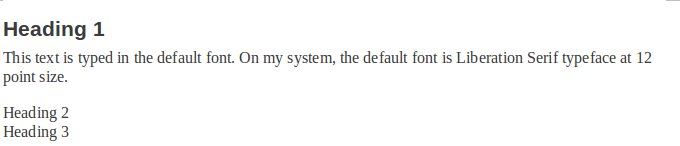

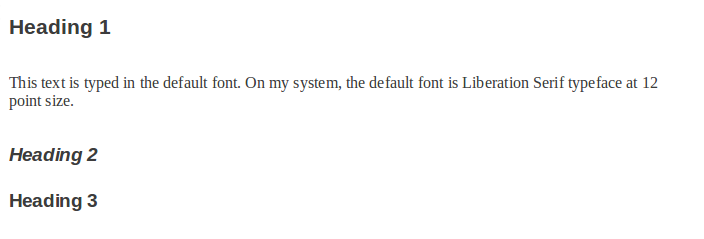
As you can see, the lettering of Heading 1 is styled at 16.1 points for size and is Liberation Sans as the typeface. For the moment, the text that says Heading 2 and Heading 3 is just body text.
The bigger lettering of a heading obviously makes the heading stand out, but it also serves another significant purpose for advanced use.
Headings are of a different status from body text. Each heading marks the beginning of a segment. Each heading helps a reader to see where the topic changes in a major way. It would not look so obvious, but the heading could be the same size and look like body text. However, if labeled a heading, it would still do its job structurally for the document. Usually the appearance of text in a heading is modified to look more impressive. That's for visual cues useful to the reader. In the background, LibreOffice is able to use the text identified as a heading in other ways, though. Headings are available in several levels and they make it possible, for example, to do an automatic table of contents. LibreOffice automatically builds a table of contents based on the presence of the headings that are designated by selection of one of the available heading styles.
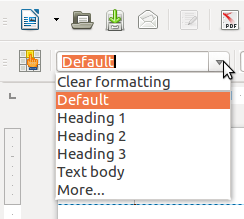
In most writing, you'll use Heading styles 1, 2 or 3. As you see, there are more styles. We'll get to them in a bit. Styles are paragraph-level formatting. Earlier we looked at changing fonts, using bold weighting or perhaps color changes or even size changes. Those changes were NOT paragraph level styling. They were word/letter formatting. Character-level changes applied only to the few words or letters which you choose to highlight. By contrast, style formatting changes all the characters in a whole paragraph. So, either you have the changes of a Heading or you don't. The whole paragraph changes to the style you have chosen.
I hope you can see that a whole full text paragraph would not make sense if it were done as a Heading 1 style...like this!
Headings should be short saying things like:
Chapter 6: Entering the Tunnel
Imagine with me, that you have written a novel. It would be very nice to have your Table of Contents automatically handle the page where each chapter begins, especially when you and your editor decided to change the length of chapter 2. With a manually created table of contents, the chapters afterward would need their new page numbers fixed manually in the table of contents. In LibreOffice, using headings for the chapter titles, the update of the chapter pages is handled automatically.
Practice
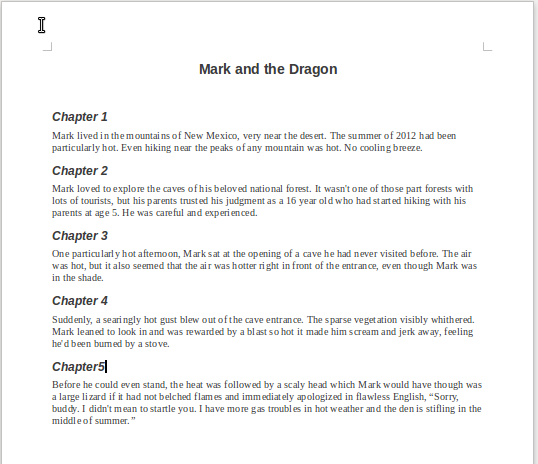
Create a very short story a few paragraphs long. Make a title at the top using Heading 1 style and center it.
If you feel you MUST use my story for your practice, download the .odt file here: Mark and the Dragon
(Assuming you have LibreOffice installed, you may be offered the chance to open it directly in LibreOffice Writer. Otherwise, save it and then open it.)

Your document might look like this when you finish typing (or exactly like this if you downloaded!).
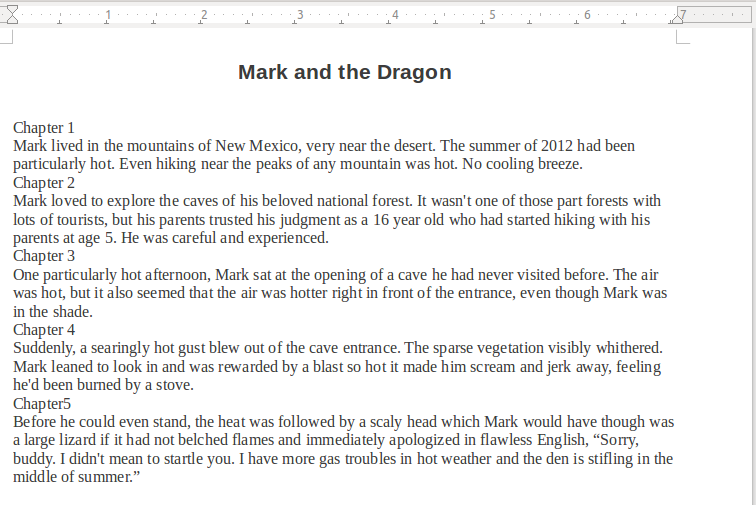
The chapter headings are separate paragraphs before each of the "story" paragraphs. Put your cursor anywhere in the Chapter paragraph and choose from the style options. Make each Heading 2 style.

You should notice that the headings are not only larger in their text size. (Check the size at the formatting toolbar.) There is spacing above and below the heading text. The space makes the heading stand out more. If you had just changed the size of the font manually formatting it, those spaces wouldn't have happened.
Next step: Insert table of contents.
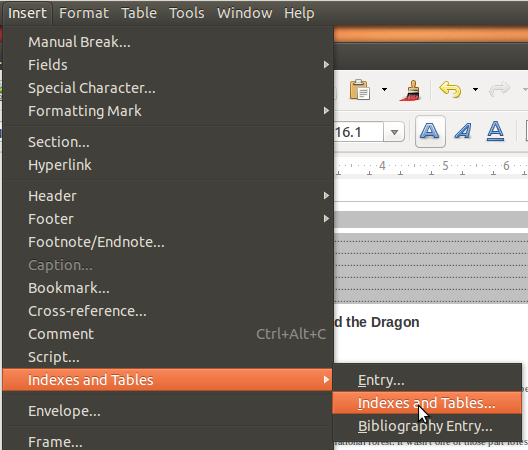
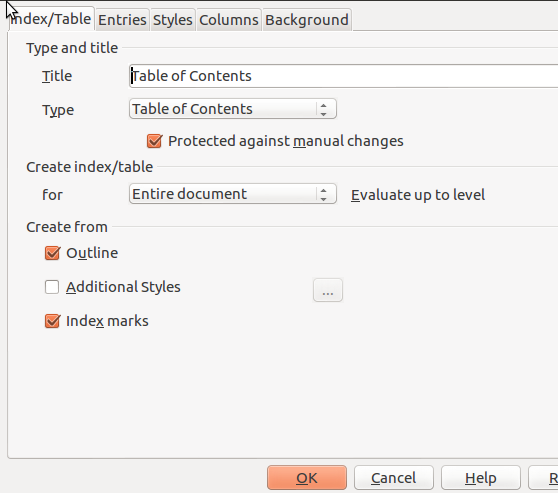
Slide your pointer up to the very top edge of the screen. Unity will reveal the menus of the LibreOffice program that are normally not visible. Slide over to the menu item called "Insert" and then click "Indexes and Tables" and finally click "Table of Contents."
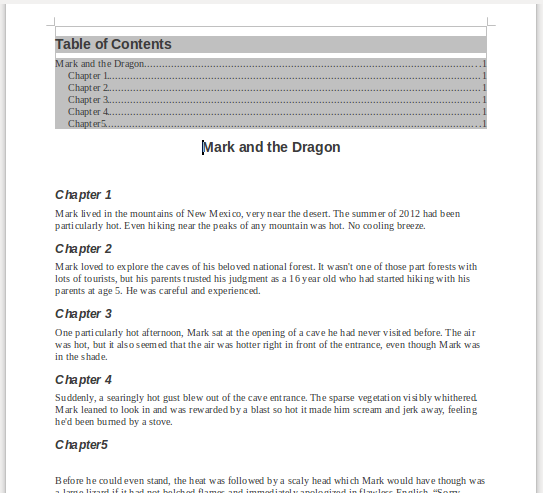
In my example, to make my table of contents, I put the cursor at the top of the story's first page, just left of the first letter of the title. Normally, I would have put in a page break so that the table of contents would be separated from the first page of the actual story. I didn't it this time so the captured page image would be an easier illustration to put in this explanation.
In the image below you can see the table of contents at the top (of course, all the page numbers point to page one of the story because it is terribly short. If, however, one of us decided to push forward and make each chapter several pages long, the table of contents would track our changes and would automatically change the page numbers to show where each chapter started after our longer writing was done.
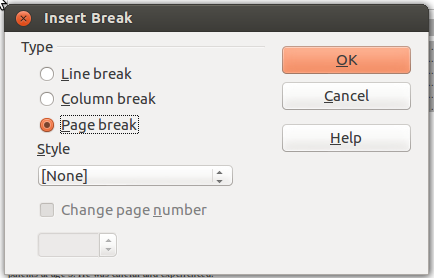
Normally you would want the table of contents separate from the story. You would want a fresh section/page above the story. You insert a page break, a kind of "manual break." A page break is the default choice of the Insert menu.

Additional Reading:
LibreOffice Online Help
Making your own Default template
© 2013 Algot Runeman - Shared using the Creative Commons Attribution license.
Source to cite: - filedate: