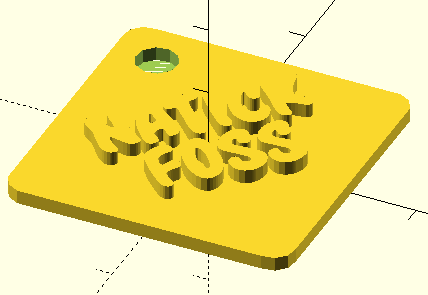
The keychain fob was a show-and-tell door prize handed out at the meeting. If you missed getting to the meeting, please ask for yours the next time. There are enough for everybody,..in NatickFOSS, at least.
Heat a plastic filament and squeeze (extrude) it through a nozzle while moving the nozzle head carefully around in a flat plane. Then move up a very thin layer and repeat to gradually build an object in three dimensions.
X,Y and Z are the letters which we typically use to describe the three dimensions. Additive Manufacturing and Fused Filament Fabrication (FFF) are two commonly seen terms when reading about 3D printing.
Free Software (AKA "open source") liberates me to create without needing to lock down my work in a proprietary format.
Article: https://opensource.com/article/17/1/beginner-LulzBot-Mini-3D-printer
Notes: 3D on Runeman.org
Watch LIVE! - Contact me for the address so I can avoid overload of my bandwidth. Thanks.
The company which manufactures the MakerBot 3D printer also set up a repository for print files called Thingiverse where people have uploaded their designs to share them. There are other sources of files, too. Try a search for "3D file repository" to get a sense of how many designs are out there, ready to download and print. Several licenses have been used, but it is common to see them shared with user-friendly terms, Creative Commons and GPL among others.
I decided, for the moment, to ignore the riches out there. I wanted to dig in on my own. The core of the process for me is found in OpenSCAD. I was a fair BASIC programmer in the 1980s and found that OpenSCAD felt comfortable.
There are other tools for design, some are online, but the Free Software status of OpenSCAD is a factor which made it my first choice.
OpenSCAD builds printable objects which we can put together into the objects we want to print.
A snowman was the programming "example" partially described in the presentation.
Fundamentally, a snowman is three spheres an a few cylinders. We went through the issues of needing a flat base since a full sphere would not be stable on the printing platform.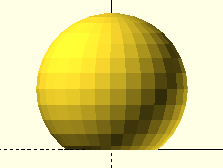
// Snowman

difference(){  // set up to remove the bottom of the sphere
translate([0,0,8])  // position the sphere so it looks like the base of a snowman
sphere(10);  // make a sphere 20 mm wide (measuring by radius)
translate([-10,-10,-2]) carefully position a rectangular block to erase the base
cube([20,20,2]); // all rectangular solids are "cubes" with flexible dimensions
}
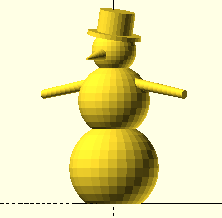
During the presentation, we did not complete the full program to make a snowman to avoid turning the session into a programming lesson, but the snowman should turn out something like the image to the right.
The printer model I have can only do one color at a time, but it should be possible to use several colors to make the final fancy snowman by making holes into which pegged parts like the hat, nose and arms will fit. We might make the nose using orange PLA plastic and the hat and arms using black, for example.
OpenSCAD is a programming language so it contains abilities like loops, allowing some interesting design results.
//polycone00 - 2017-04-29

module poly2(){
    linear_extrude(2)
polygon( points=[[0,30],[10,10],[20,0],[0,0]],convexity=10);
}
translate([0,0,0])
rotate([0,270,0])
for(k=[0:10:360]){
    rotate([k,0,0])
    poly2();
}
translate([0,0,10])
sphere(10);
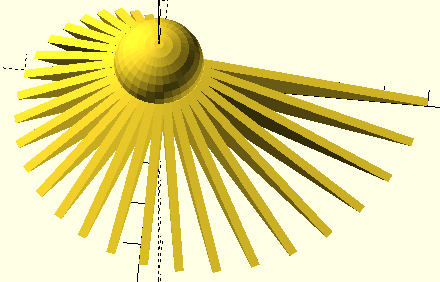
The OpenSCAD design preview
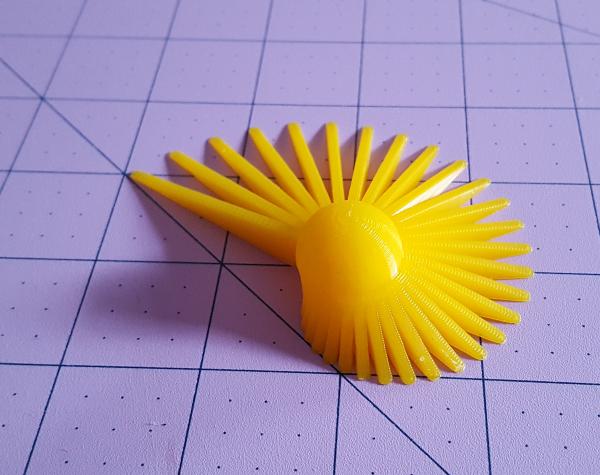
The printed design shown during the meeting